How to create a React datepicker using React Bootstrap.

By Emmanuel Chinonso
Web Developer
React Bootstrap Date Picker
In modern web development, creating interactive and user-friendly datepickers is a common requirement. React, a popular JavaScript library for building user interfaces, offers various UI component libraries that provide ready-to-use datepicker components. One such library is React Bootstrap or CDBReact, which combines the power of React with the aesthetics and functionality of Bootstrap. In this article, we will guide you through the process of creating a React datepicker using React Bootstrap or CDBReact.
CDBReact is a react library which is an Elegant UI kit with full bootstrap support that has reusable components for building mobile-first, responsive websites and web apps.
Table of Contents
- What is React Bootstrap?
- Setting up a React project
- Prerequisites
- Installing React Bootstrap or CDBReact
- Importing necessary components
- Creating a basic datepicker
- Conclusion
What is React Bootstrap?
React Bootstrap is a library that provides pre-designed components and styles from the popular Bootstrap framework, specifically tailored for React applications. It allows developers to easily integrate Bootstrap components into their React projects, including datepickers. You can also use the CDBReact to achieve the same thing with less code and more design freedom.
Setting up a React project
Before we can start creating a React datepicker using React Bootstrap, we need to set up a React project. Follow these steps to get started.
Prerequisites
- Ensure that Node.js and npm (Node Package Manager) are installed on your system.
- Open a terminal or command prompt and navigate to the desired directory where you want to create your project.
- Run the following command to create a new React project.
npx create-react-app my-datepicker-appOnce the project is created, navigate to the project directory
cd my-datepicker-appInstalling React Bootstrap or CDBReact
To use React Bootstrap or CDBReact in our project and access the datepicker component, we need to install the necessary packages. Follow these steps.
- Open a terminal or command prompt in your project directory. Run the following command to install React Bootstrap and its dependencies:
npm install --save cdbreactor using Yarn
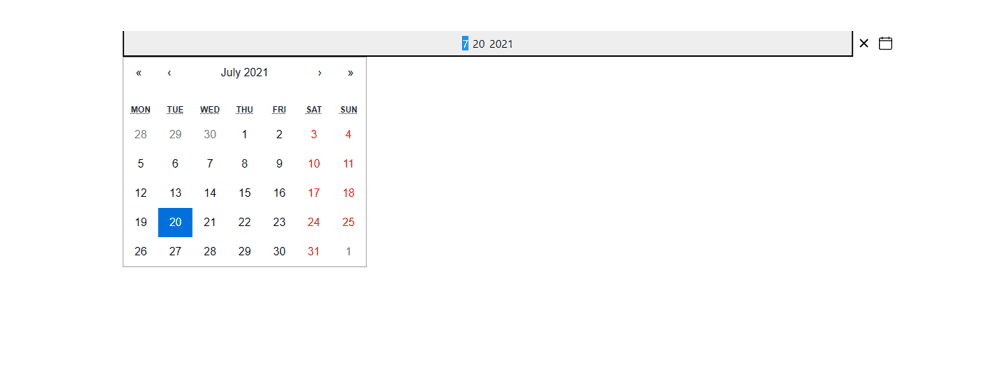
yarn add cdbreactThe data picker we are going to build will look like this
Importing necessary components
After installing React Bootstrap or CDBReact, we need to import the necessary components into our React project. Open the file where you want to use the datepicker component (e.g., App.js), and add the following imports.
import './App.css';import DatePicker from './datepicker.js';import { BrowserRouter as Router } from 'react-router-dom';
function App() {  return (    <Router>      <div className="App">        <Datepicker />      </div>    </Router>  );}export default App;
Creating a basic datepicker
With the project set up and the necessary components imported, we can now create a basic datepicker. In your component file (e.g.,DatePicker.js), add the following code.
import React, { useState } from 'react';import { CDBDatePicker, CDBContainer } from 'cdbreact';const DatePicker = () => {  const [value, onChange] = useState(new Date());
  return (    <CDBContainer>      <CDBDatePicker onChange={onChange} value={value} />    </CDBContainer>  );};export default DatePicker;
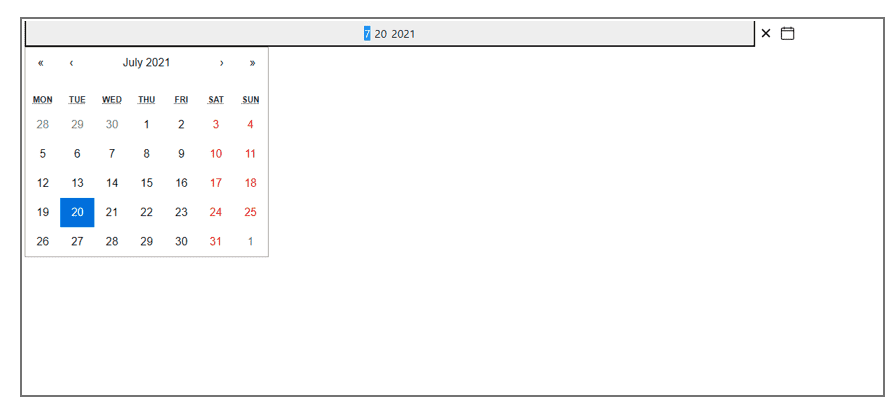
After rendering the date picker on the app.js which shows on the web. Your work should look like this.

Conclusion
In this article, we explored how to create a React datepicker using React Bootstrap. We covered the steps of setting up a React project, installing CDBReact, importing necessary components and creating a basic datepicker. By following these guidelines, you can easily create a datepicker in your React applications using React Bootstrap or CDBReact, providing a seamless user experience for selecting dates.
Build modern projects using Bootstrap 5 and Contrast
Trying to create components and pages for a web app or website from
scratch while maintaining a modern User interface can be very tedious.
This is why we created Contrast, to help drastically reduce the amount of time we spend doing that.
so we can focus on building some other aspects of the project.
Contrast Bootstrap PRO consists of a Premium UI Kit Library featuring over 10000+ component variants.
Which even comes bundled together with its own admin template comprising of 5 admin dashboards and 23+ additional admin and multipurpose pages for
building almost any type of website or web app.
See a demo and learn more about Contrast Bootstrap Pro by clicking here.
Related Posts

